Thursday, June 26, 2014

Toffee Popcorn : Salted Caramel edition

I love cooking.

I love making interesting food, and am, in truth, proud of my own ability to put food forward of a good standard. I like making Heston Blumenthal dishes because I like nice food, and I like stretching myself.

This was not the day for that.

Inspired by Heston’s Salted Caramel Popcorn from Waitrose, I decided to give the Heston at Home Toffee Popcorn a go. We’re big fans of toffee popcorn in this house and I thought it was just the thing for a lazy Friday night. Sigh. Unfortunately, it sucked.

So this recipe is interesting:
  1. Make salted caramel, dry burn method.
  2.  Add oil, salt and bicarbonate of soda
  3.  Add popcorn to the caramel, cover
  4.  Take out caramel covered popcorn.
Sounds easy, enough, right?

Step one: Making salted caramel.

 
This uses a dry-burn technique, which I am fairly familiar with, as it is also used for the Salted Caramel icecream recipe I use. Dry-burn caramel means you put a whole lot of sugar in a pan, heat it up until it starts melting and then slowly push the un-melted sugar around until it is all melted.
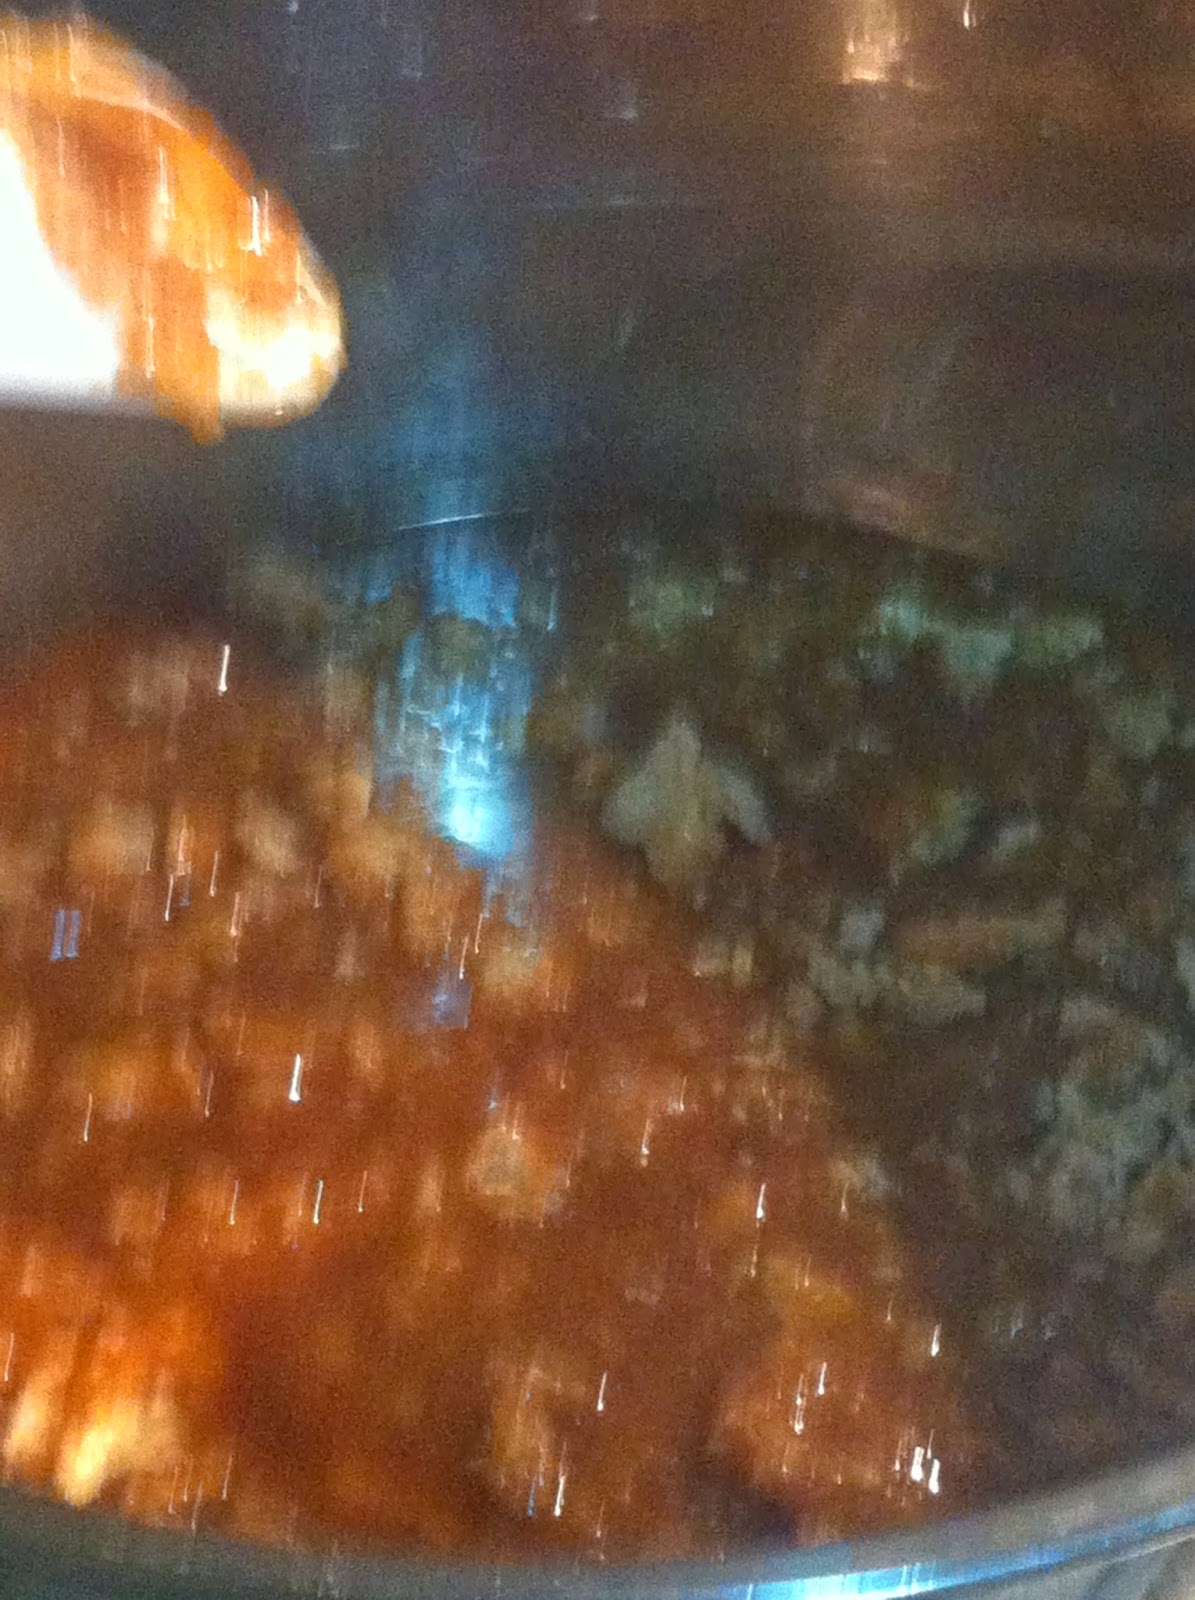
Like this.

Unrefined caster sugar in a pan.
Heat without touching until it starts to melt on the edges.
Push it around until all the sugar is melted. Apologise for the blurry photo it was hard to take a picture and push around molten sugar at the same time. You can see almost all the lumps of sugar are gone here.
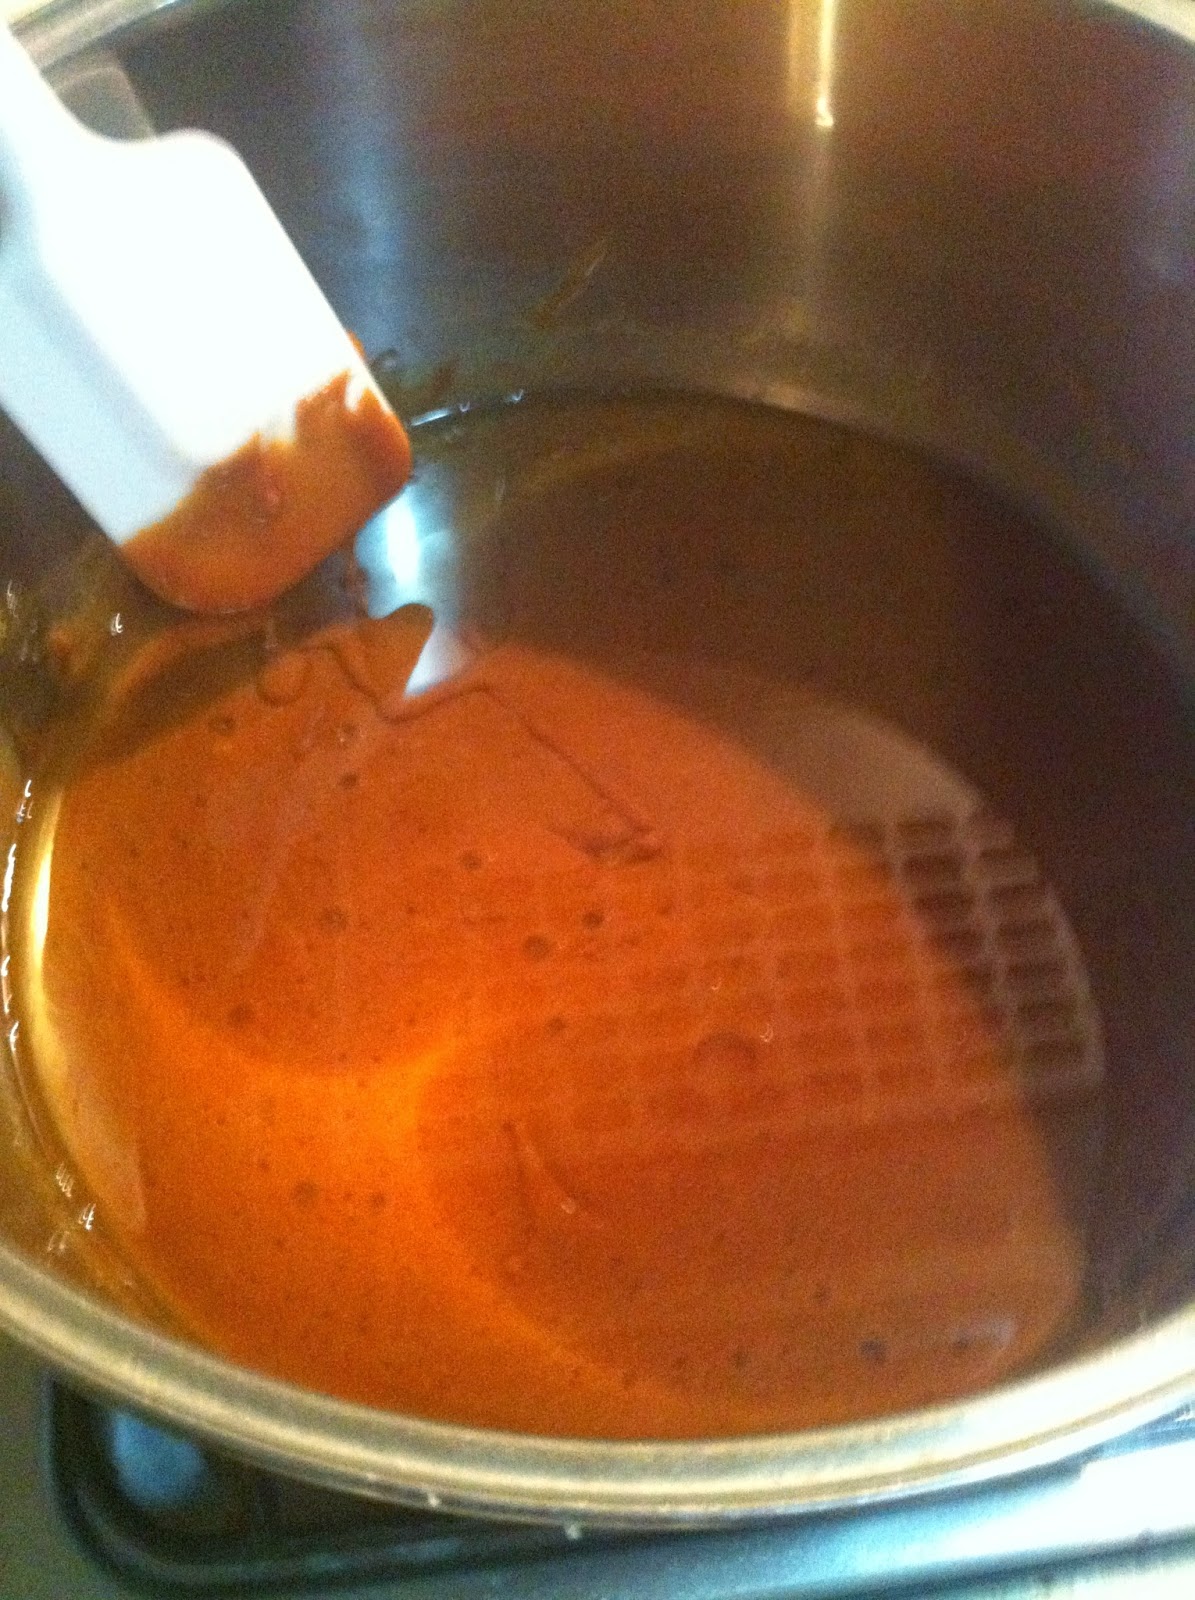
Here it is ready to go – all the sugar is melted and it is a nice caramel colour. Using an unrefined caster sugar seems to give a darker caramel than the white caster sugar I am used to.

Step two:

This reminds me of making Anzac biscuits, where you add butter. Here you add grapeseed oil.
 
Despite much whisking etc, I could not get the oil to amalgamate with the sugar. The recipe was unclear if this was supposed to happen or not, I gave up trying.
 
Add the salt.
 
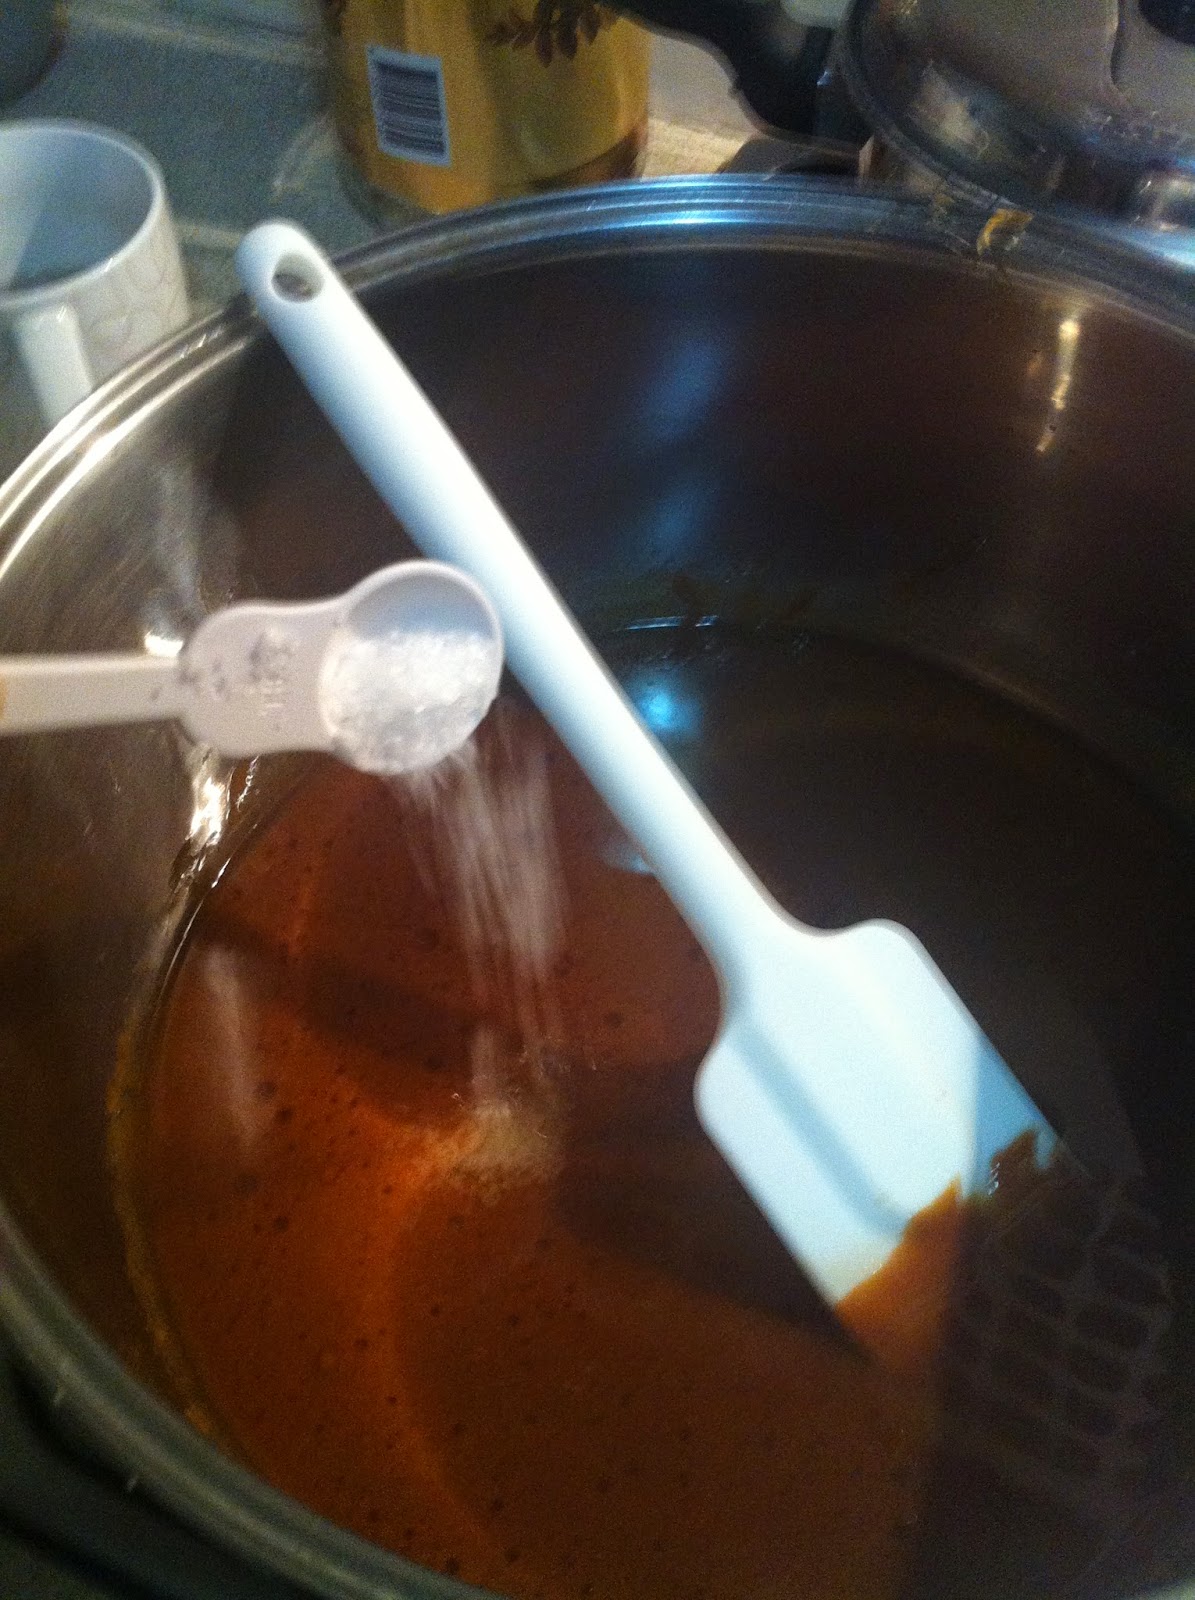
Add the bicarbonate of soda. This immediately does what bicarbonate of soda does in anzac biscuits – fizzed up and increased the volume of everything.

Step three: Add the popcorn.

You can’t see it here, but the popcorn has been added. You then put the lid on and let it pop. The instructions then say wait until you hear it stop popping, so that is what I did. 

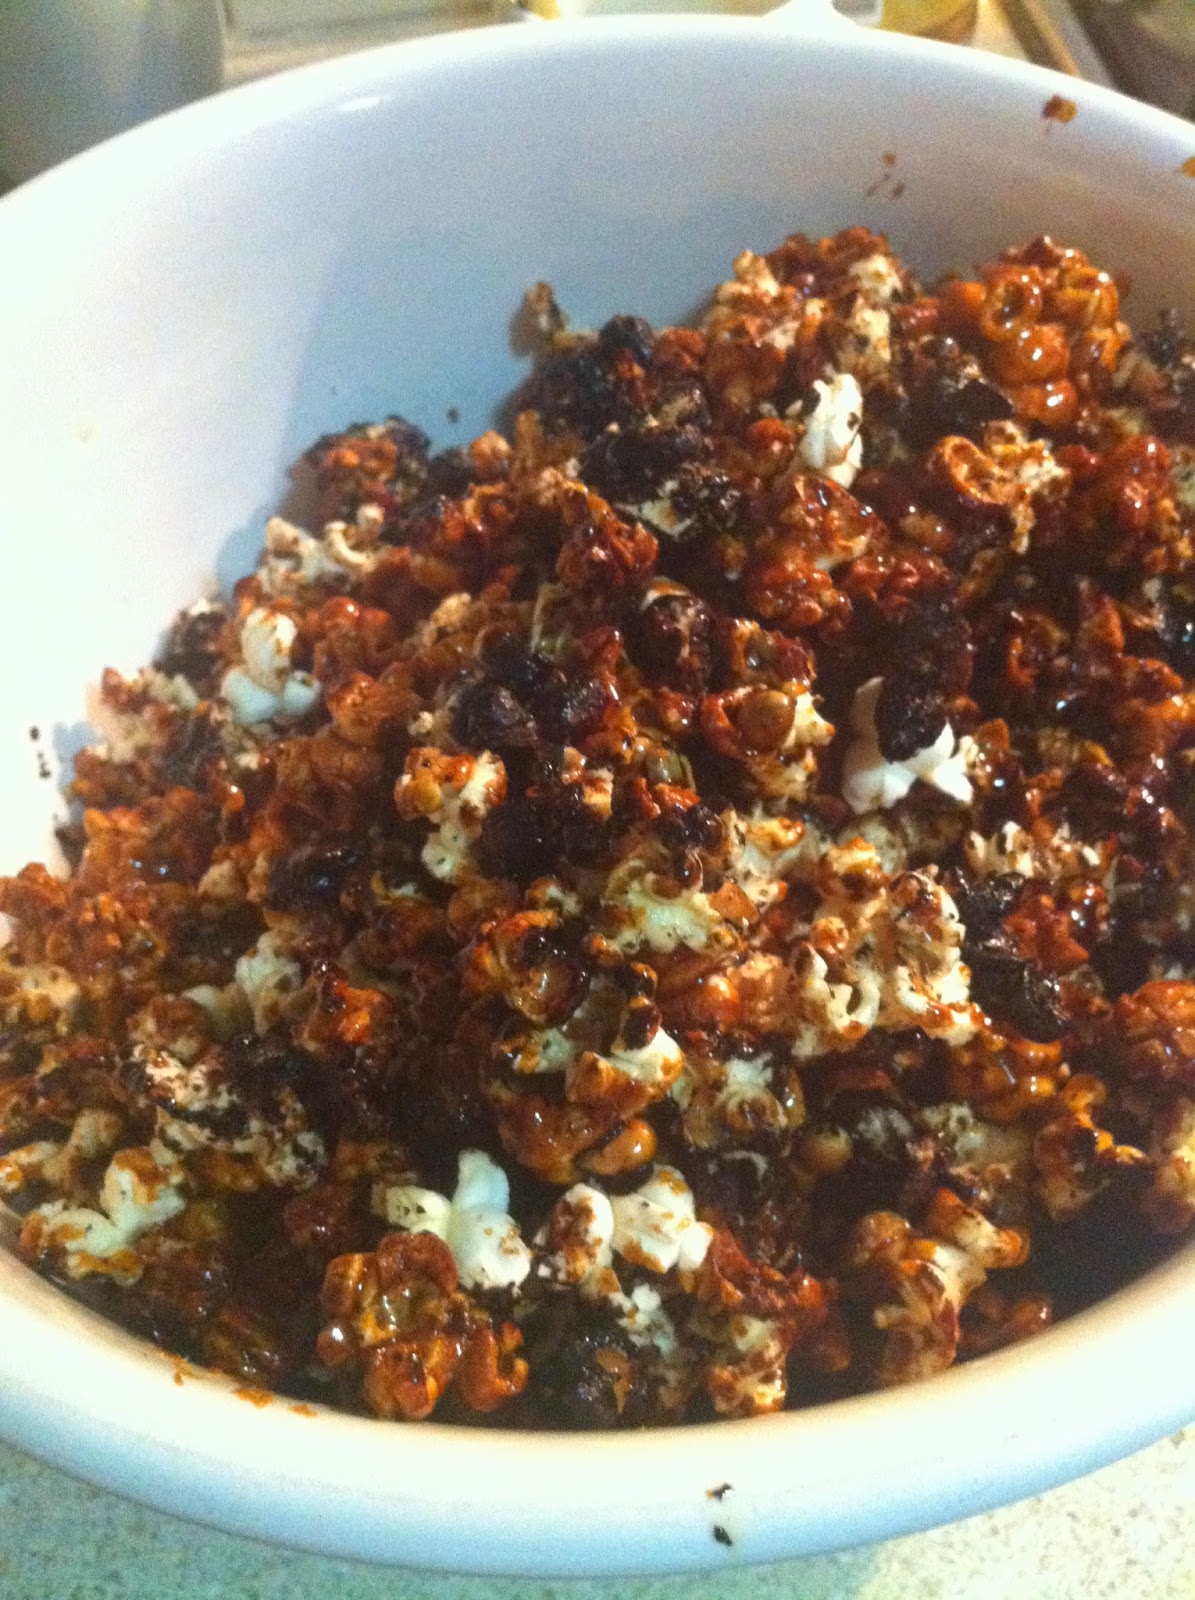
Step four: Take out caramel covered popcorn.

Be devastated when you realise that while the stuff on top looks okay… 
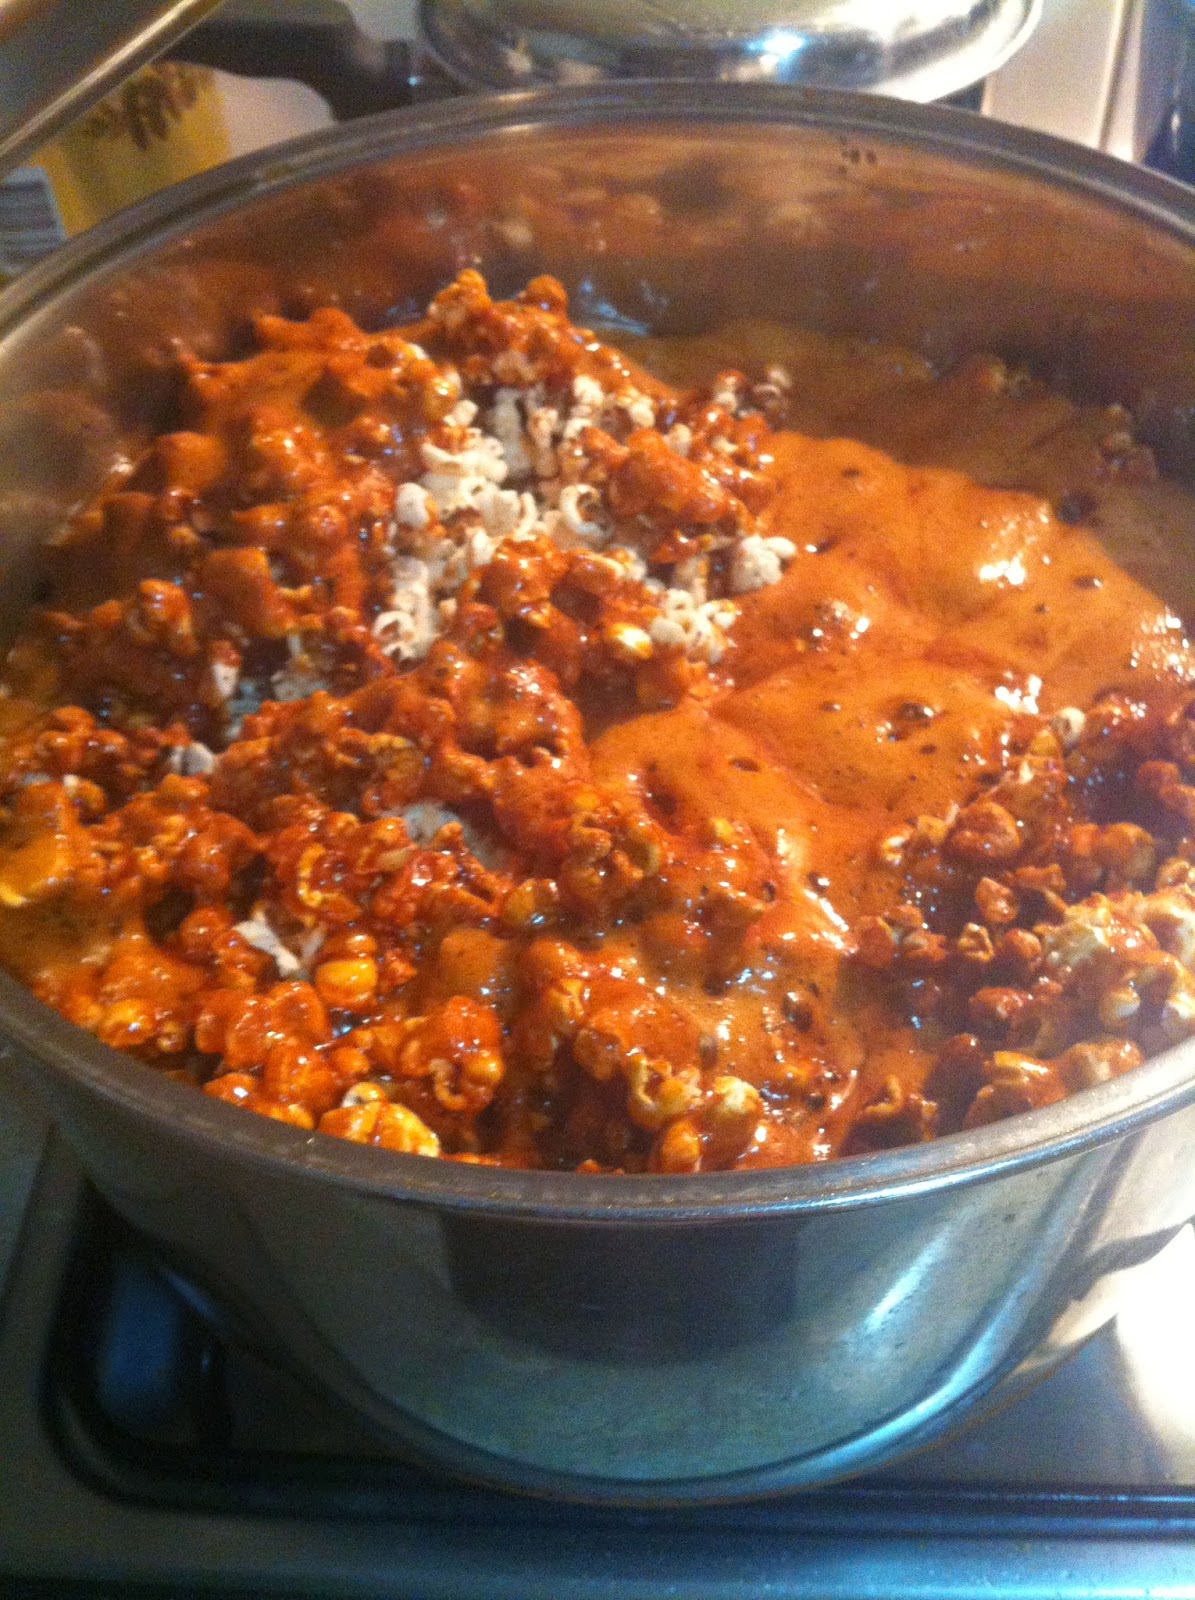
it’s burned.

As I worried, keeping caramel over heat to allow popcorn to pop in it tends to lead to…

burnt sugar.

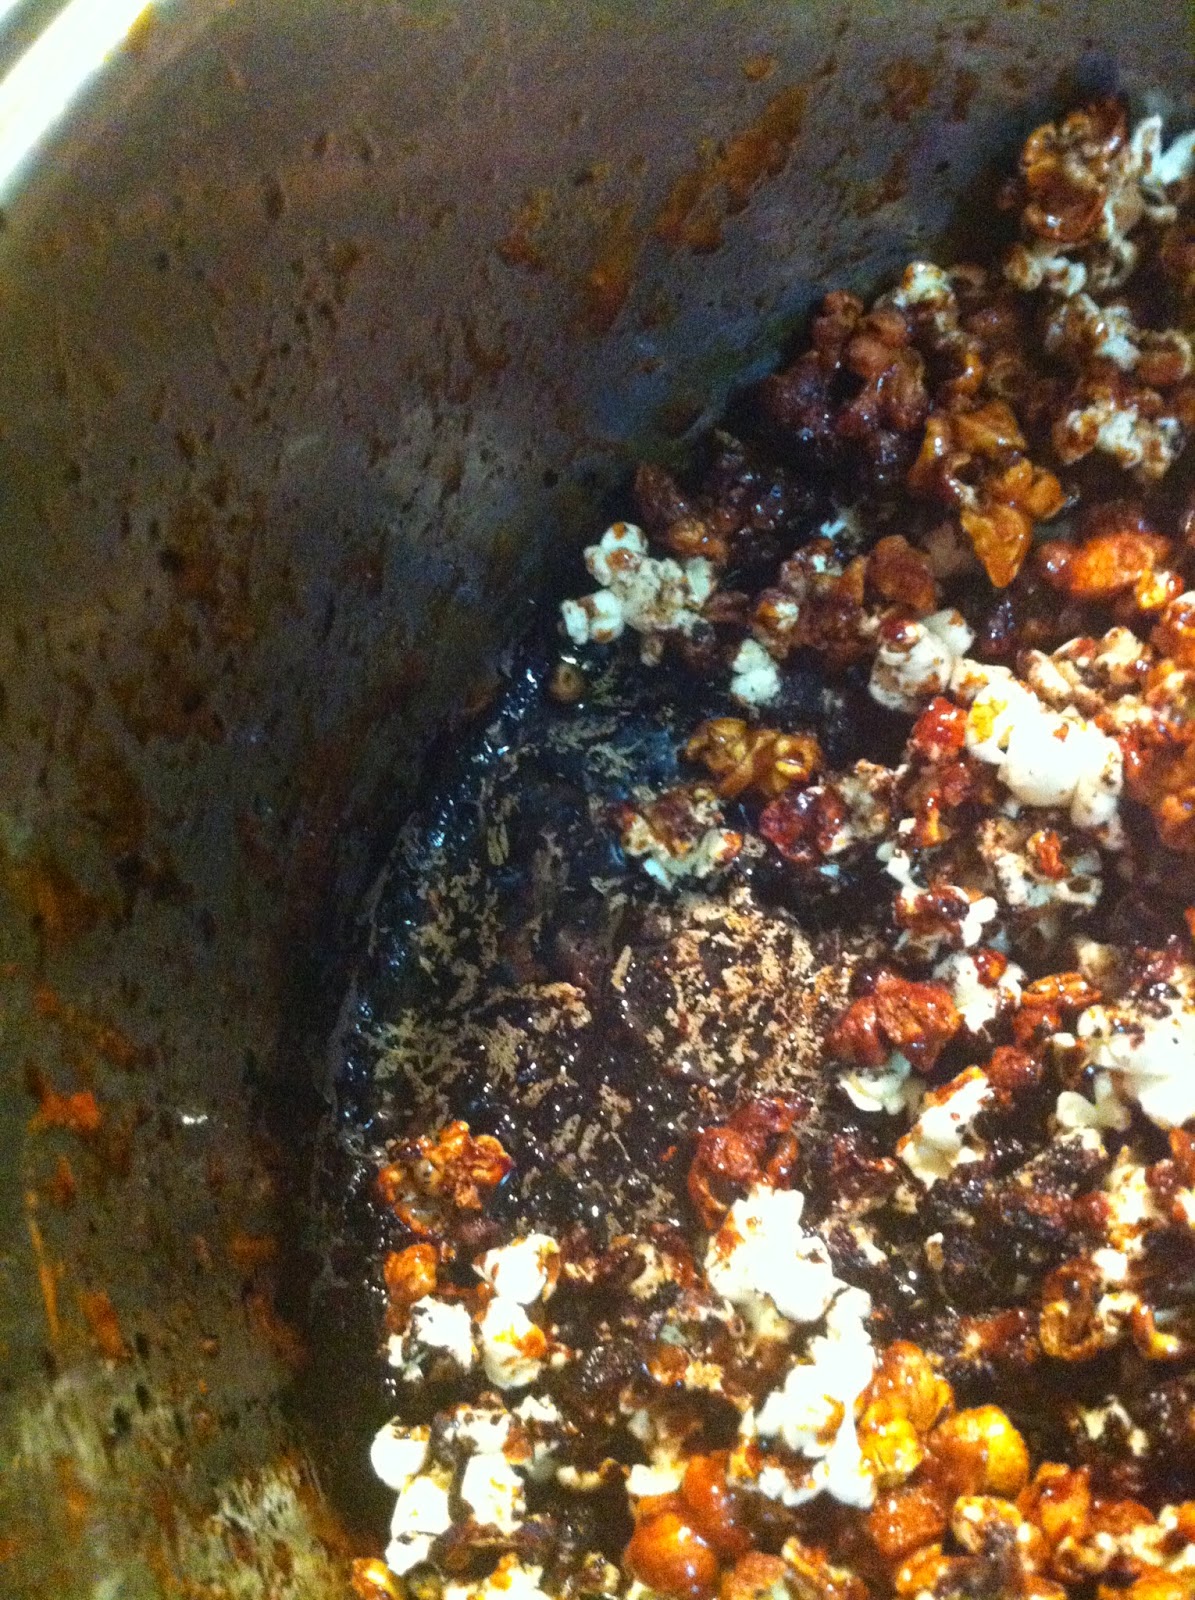
Also, when you are standing, looking over the burnt popcorn, you may realise why putting POPcorn into hot, molten sugar is a bad idea. Because, in addition to burning easily, it may pop randomly when off the heat. Like when you open the lid and start to scoop it out. Pop up, hit you, and burn your nose. Go on, laugh, I’ll wait. (Sigh) I would show photographic proof but won’t scar you with human-burns photos. Only caramel equivalents.

Lessons learned

  • Burning caramel sucks. I had a small blister on my nose and a WEEK later, it is still healing. What  a stupid bloody idea to pop the corn in the caramel.
  • Don’t make this recipe (as written, anyway).  This would be the worst recipe fail I’ve had for a while. Damn. I was really looking forward to caramel popcorn too.

Guest opinions:

We did try some. The caramel was a good consistency, but mostly still tasted burned.  Also, you know how when you pop corn, some of it always stays unpopped? That ends up IN the caramel, hiding unseen for you to nearly break a tooth on.
We ended up throwing it all out. It made a huge amount too. Urgh.

Husband felt I should have dropped the temperature of the caramel down while the popcorn is in. Maybe this would have helped, but I really doubt it – for two reasons. The mix needs to stay hot enough to remain molten and pop the corn. And secondly, caramel will burn if not stirred. And you can’t stir it, because it is exploding balls of molten nose-burning mess. Really, I can’t get away from the silliness of the idea. Heston, you let me down. It really makes me wonder if anyone actually road-tested this recipes, truly.

Husband also noted that when good quality caramel popcorn is inexpensive (we’re looking at you, Lollygobbleblissbombs) -  why would you go to the trouble?

Next time:

If I was going to make this again, I would:
  • Air pop my popcorn in our popcorn popping machine. (Say that ten times fast).
  • Make the caramel.
  •  Maybe replace the oil with half the equivalent amount of butter. 
  • Add the salt and bicarb, mix it up
  •  Pour it over the popped corn.
  • Put it on a tray to cool and solidify.
I don’t know how important the oil is for the process given you are not popping the corn in the mix in this case. Given I’m familiar with butter rather than oil in caramels, maybe it is the amounts that are out of whack here. It was a lot of oil, and really didn’t want to combine.

Next: I'm not sure, I think I am still traumatised by the utter lack of success and caramel burns. 

Friday, June 6, 2014

Madeleines with lemon curd

ˈmadleɪn,ˈmad(ə)lɛn
noun
noun: madeleine; plural noun: madeleines
  1. a small delicious cakes of French goodness and light..

So, I am recently back from a trip. While in Paris, I bought a madeleine tray as a souvenir. (Doesn’t everyone buy cooking toys as souvenirs? No? Why ever not?)

This has lead to a spate of madeleine recipe making. Number one: random recipe from online (okay, not perfect). Two: recipe from a French cookbook I already own (dreadful, so much so I am certain there is an error in the recipe). Then I remember to check if Heston has a recipe for madeleines.

I decided to make this with the lemon curd, rather than the chocolate sauce. I may try the chocolate version at a later point.

Steps


Lemon curd:

  1. Prep lemon zest and juice
  2. Melt everything together
  3. Heat to 70 degrees
  4. Cool and sieve

Madeleines
  1. Grind the ground almonds
  2. Prep the tin(s)
  3. Prep the brown nut butter
  4. Mix the dry stuff.
  5. Whisk the egg whites, mix into the dry stuff
  6.  Add the honey, then add the butter
  7. Rest (for a really long time)
  8. Bake

Lemon curd


I like lemon curd. It’s delicious and good for lots of things. And, it turns out, very easy to make. 

Gather your ingredients. 


Peel off some lemon zest. Juice your lemons. Heston recommends rolling them on the bench to soften them for juicing. I have an alternate version – cut them in half and microwave for 20 seconds or so. It warms them up a bit, but you get a lot more juice out of them. 


Prep your eggs.

Whisk them.


Heat up a lot of butter with the juice, eggs and lemon zest scrolls.


Keep stirring until the sugar is melted and whisk until  it gets to 70 degree.  (This happened surprisingly quickly once the sugar was melted – almost immediately for me.)


Sieve out the zest and any lumps and done!


The flavour was good, not too sweet, not too tart. It was nicely unctuous too. Pop it in the fridge while you go to make the madeleines. Or do what I did, read the madeleine recipe all the way through, realise it is too late to make them now and resolve to make them the next night. Or.. on the weekend, when you feel up to it. Whatever works for you.

Madeleines

Gather your ingredients. (You might note I'm a fan of doing this before starting, as it prevents getting half way through a recipe and then realising you are out of flour/butter/ground madeupicone and need to go out to the all-nigh-very-expensive-supermarket or give up. No prizes for guessing how I gained this wisdom.)


Despite the fact that almonds come ground, you need to grind them anyway.


This makes them rather more wet, as the oils are released. It also obviously makes them a finer grind.


Make your nut brown butter.


Heston cooks may well have done this before, thus know the tricks – warm it while whisking until the butter solids make the butter turn brown, smell toasty good and foam slightly.


Strain the butter through a disposable coffee filter to get the lovely butter, and not the gritty solids left behind.
 

Prep your moulds. I only have an 8 madeleine mould, so used an extra muffin tin for the extra mix I was expecting.


Put the dry stuff – flour, almonds, icing sugar ...


in the mixer and whisk it up.


Put all that in a different bowl so you can whisk the eggs slightly. This was kind of a waste – given the instruction is to whisk until “just combined” next time I’d whisk them manually in a bowl, then add them to the dry ingredients, since this is what you’re going to do anyway.

Mix the eggs into the dry stuff. Yup, looks like batter.


Heston notes a trick for measuring honey  - you oil the spoon very slightly with a neutral tasting oil – I used grape seed.


This worked very well!


Add the brown butter, whisk. You now have runnier batter.


Pour it into the moulds. This makes a lot more than you’d think. I had to use two extra tray muffin trays. Maybe Heston has giant madeleine trays, but mine are standard size.


You think you can now bake them. Nope! You can’t bake them yet. These now need to be refrigerated for three hours. This seems excessive. (And felt a bit pointless. Perhaps it is resting the gluten from the almonds, I don’t know but… it is a long time, thereby preventing any chance of whipping these up for company dropping in).


Bake them until golden brown.


Following the instructions exactly, “turn the madeleines over on to a cooling rack”. Become alarmed at what a mess this creates as several break, crumble and otherwise make a mess. (The muffin tin ones were even worse).


Pick the most aesthetically pleasing one to serve artistically with a dollop of lemon curd and a cup of tea or coffee. Sit down to wonder why on earth they took so long,  while enjoying your madeleine and lemon curd.


Lessons learned


  • Whisk the egg white in its own bowl to prevent unnecessary bowl switching and cleaning
  • Make a half batch, or buy a second madeleines tray
  • Turn them out very carefully and gently. (i.e. make sure you put the rack down on the tray and then flip the two over gently).

Guest opinions


 Smaller person is not difficult to please, though she did note they were not as good as the ones from Paris. (That would be the ones from Benoit, the Michelin starred restaurant. Ahem.)

Husband was non plussed. Nice, but he’d rather have the chocolate chip biscuits please.

I thought… Nice, but nothing special really. And, in my opinion, these were friands masquerading as madeleines. Tasty, but not actually madeleines. And, with the excessively long wait time, a bit of a pain to make, and not great enough to make them worth the hassle.

Verdict


While not a bad dish, and tasty enough, I wouldn’t bother making them again.

The lemon curd on the other hand was easy and tasty and will probably be made again.


Next attempt: Nigella Lawson’s rosebud madeleines from How to be a domestic goddess.  And something Heston. I want to try that 18 hour pork belly, preferably before winter is over.